Showing posts with label blackwork. Show all posts

Thursday, April 19, 2012

Gifts

 Those of you that visit this blog may or may not know that I play in the Society for Creative Anachronism, SCA for short, which is a medieval reenactment group.  My embroidery is all wrapped around gifts for different people and different events.

Today's post is about the gifts I gave at our recent Coronation.  This event happens every six months, when the past King and Queen step down and the new King and Queen take the throne.  There is a lot of ceremony during this event, and part of that ceremony is to give gifts to the new Crowns.


These are five handkerchiefs that I made for our new Queen.  Blackwork, as usual!  All these handkerchiefs were made out of lightweight linen, hand-hemmed, and stitched with black silk.  Here are the five handkerchiefs all together.  Each one has the same design but they were all stitched with different fill patterns.


 This handkerchief is my favorite.  You can't see it very clearly in the small picture, but the shading on the rose petals are actually tiny squares. You can see it better in the detail picture.


 The tiny writing beneath the k (our new Queen's name is Kenna) reads XLVII.  In the SCA, our year begins in May, and at the turn of the year it will be Anno Societas (in the Year of the Society) 47. 


 These are the other four handkerchiefs.  All of them were reversible - their backs would be seen while the handkerchiefs are used.  It's so important to keep your work absolutely neat when creating an item that will be  seen from both sides.


I did the petals on this hanky a little different. The fill on each petal is pointing a different direction, parallel to the top of the petal.


All of the fill patterns were taken from the book Esamplario Atlantico, a fill pattern book from the author of the blog String or Nothing.  Seriously, if you're interested in anything to do with embroidery, knitting or crochet, go visit her blog!

I hope you enjoy these images of my work as much as I enjoyed creating them!


Wednesday, April 11, 2012

Finished Commission

Well, I never did get around to posting the work in progress.  I promise I'll be better! Sadly I didn't complete the collar in time for Gulf Wars, but I did submit the work in progress to the Open A&S where I got lots of nice things, including a very lovely Green Man bottle from FireHorse Pottery.


  Here, you can see the completed commission.  As noted in my previous post, the collar is based off of Lady Pemberton's collar.  The cuffs are based off of Jane Seymore's cuffs in a painting by the same artist, Hans Holbien the Younger, seen below.


Jane Seymour, Hans Holbien the Younger


Detail of Jane Seymour's cuffs, by Hans Holbien the Younger
Detail of Cuffs


Here is the detail of the cuffs I stitched.  The cuffs are identical on both sides, just as they are in the painting.  The cuffs are right about 14 inches long.


And here is the detail of the completed collar.  This picture shows only about a quarter of the completed length.  The completed collar measures just under 18 inches.


I had a lot of fun doing these!

Next week I will add photos of a gift I have finished.  I can't post them yet because the gift is a surprise!

Monday, February 20, 2012

Blackwork Collar Commission WIP

I thought I would start a WIP series, though this one should go pretty quick, as I have to deliver this commission in three weeks!

The commission is a collar for a man's shirt.  While the collar pattern I chose is pictured on a woman, I believe that the pattern is unisex enough for both men and women.  The pattern is the Pemberton Collar, and you can see it on the picture here.


I began on this project a couple of weeks ago, but had to set it aside to turn my attention to some biscornus (biscornu? biscornii?) I was stitching for a March 1 deadline.  (I put a tutorial in a previous post.)  I picked up the commission again yesterday and got pretty far, considering the detail of the piece.  So far I have about three inches of the eighteen that was requested.   
As I work on it more, I'll post more on my progress there.

~~~~~~~~~~~~~~~~~~~~~~~~~~~~~~~~~~~~~~~~

This post seems really short, so I think I'm going to add a few pictures of some previously finished projects.

The two photos above are the two sides of a sweet bag worked in petitpoint, a gift for Mistress Barbara Sterling on the occasion of her elevation to Pelican.  The bag itself is about five inches by seven inches, not counting the tassels, and the truly miniature pincushion drawstring pulls were about 3/4 inch square.  The project was silk floss on linen ground.  The pincushions have letters on them - B/S and O/P: Barbara Sterling, Order of the Pelican.  The tassels were handmade and the drawstrings were fingerloop braiding from the same silk floss as the tassels.


This piece was a commission from the Bardic Champion of the Barony of Bordermarch, Kingdom of Ansterorra.  The champion noted that there was no regalia for the office and asked me to create it.  I created this baldric for the regalia; in addition I made a belt token as a keepsake for the champion.  The piece was created in black and cream linen, applique design with buttonhole stitches in black (internal parts of the applique) and gold (outer outlines and all harp), backstitching on the horn, and roumanian couching for the harp strings.


Wednesday, February 15, 2012

Tutorial: 15-Sided Biscornu

This is my first attempt at a tutorial.  Since I've been making several of these over the last few weeks, I thought it was about time to try my hand at teaching.

A biscornu is an oddly shaped, embroidered and stuffed pillow, usually used for ornaments and pincushions.  The name comes from the French, meaning 'oddly shaped thing'.  Their origins are unclear, but they have recently seen a revival and are very popular small projects.

Normally, biscornu are created out of two squares turned 45 degrees to each other, and stitched together making an eight-sided object.  A button or bead in the center of the two surfaces dimples it and makes it even more attractive.  The embroidery can be any sort, but usually cross stitch or blackwork is used.  Generally the embroidery takes the form of a square or a circle.

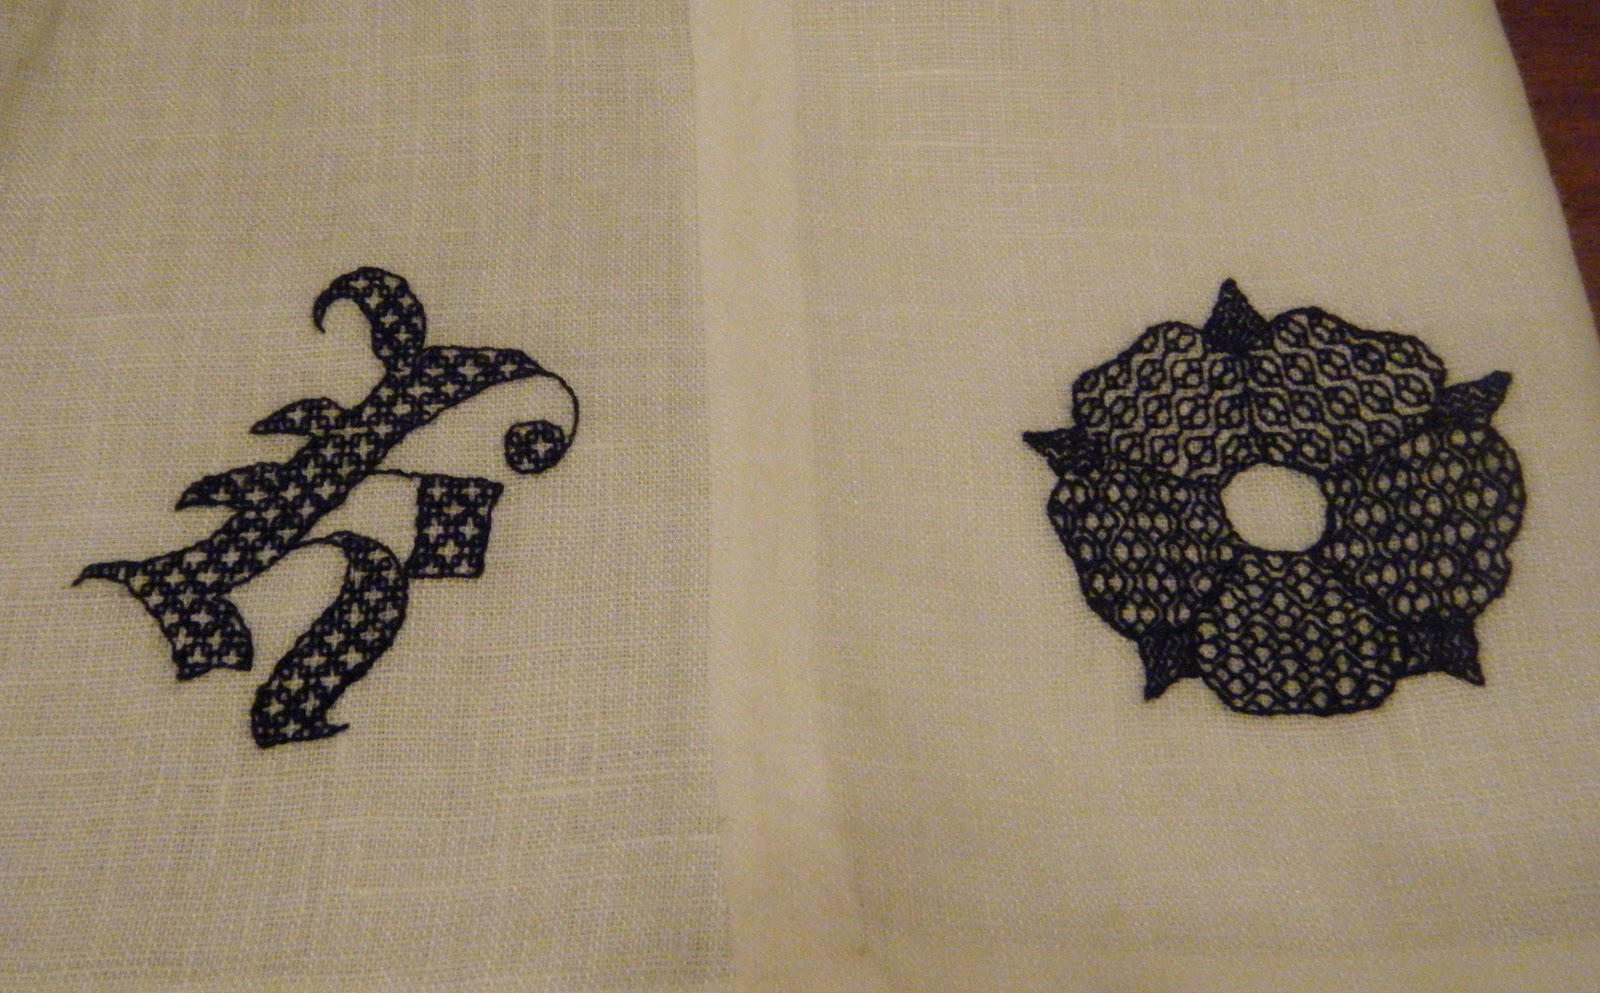
This biscornu is created using fifteen small squares, outlined, embroidered, cut out and stitched together.  I used blackwork (in various colors) in DMC cotton floss on 28 count cotton evenweave fabric.  I mark my fabric with a fine-point water-soluble pen.  You will also need an embroidery hoop and a size 26 tapestry or embroidery needle (depending on what sort of embroidery you will be doing.)

The first step (after gathering your materials) is to hoop your fabric and mark your squares.   Since I like nice even numbers, I made one inch squares, which is 28 x 28 threads. This size of square will give you a biscornu that's about three inches across when finished. Since I'm using blackwork embroidery, I marked the center of each square for a starting point.  Each square is separated by ten threads to give you enough room to cut between the squares; you can increase this spacing if you like.   Once you have marked the squares, backstitch the outline of each square; I used two strands worked over two threads for the backstitching, making fourteen stitches for twenty-eight threads.  The backstitching will form your seams later on.


Once you have the backstitching finished, stitch in your embroidery.  I used one strand worked over two threads. You'll want to finish all fifteen before cutting the pieces apart.  Once the stitching is finished, rinse the whole piece in cold water to remove the blue marks.  Pat away excess water on paper towels and hang it up on a clip hanger to dry overnight.  This will also help rid you of any hoop creases you might have.


Now cut the squares apart and decide which squares you want where.  I color-coded these squares so that you can see where each of them go.  I used red for one 'face', green for the other 'face', and gold for the center. All the backstitching is in two strands of gold, and I will be using gold to stitch the pieces together.


Start with stitching the faces.  Lay the pieces out in the order that you want them to appear in the face, and choose two to be your starting points. Thread your needle with the floss that you will use to stitch the pieces, and knot it.


Insert the needle from back to front at the starting corner to hide the knot on the underside of the fabric.  Fold the fabric back from the backstitching, and place the two folds together, right sides out, and whipstitch the two pieces together through the backstitching.  Do not stitch through the fabric except to hide knots to begin a new thread.


You will end up with two pieces side by side, like this:


Add your third piece in the same way.  You should come out with something that looks like this:


And add your fourth piece to make a square:


Now here it gets to be a little more tricky.  Add the fifth square to the side of the fourth square:


And finish the face by completing that last seam between the first square and the fifth square:


Sometimes, when you stitch the pieces together you will end up with a hole in the middle of the face.  It's easy to fix; just stitch small stitches between every other corner until you've filled the hole.


Repeat these steps for the second face.


Now you need to work on the outer ring.  Choose one of the faces; it doesn't matter which one unless you want to orient them in a special way.  Since I used some random blackwork patterns that were symmetric, the orientation wasn't as important; however, if you have particular pieces that are not symmetric you will need to be sure you keep in mind which way is up.


Stitch one piece of the outer ring to one side of the face.


Stitch the other side of that piece to the next piece on the face.  Make sure you do not stitch two sides of the same two pieces together.
Continue adding the outer ring pieces until all five have been sewn to the face.


Now you need to begin sewing the other face to the outer ring.  It's not as complicated as it looks once you get started; you will be attaching the corner of the outer ring piece to two pieces of the face, just like you did with the other face.


Continue around the second face until you have two seams left to stitch, then stuff the biscornu firmly, fold in the last two sides, and stitch to close.


Note: If you want to add a ribbon hanger, it should go at the meeting of two face points.  Be aware of your orientation if you want a particular piece to be on top.  Knot the ribbon, then just insert it at the point as you stitch that place.  A stitch or two through the ribbon will secure it tightly.


Finally, add a pair of beads to the middle of the faces.  These need to be pulled together to create the dimpling effect on the biscornu.

And you're finished!  Enjoy your new biscornu, or give it away and amaze someone with your skills!

Tuesday, January 10, 2012

As I go along in this journey, I want to add pictures of my work in progress and tutorials about how I did a particular project.  Since many of the projects are worked at the same time, and take some time to do, the tutorials may run across a few months!

This picture is of a pillow I worked in blackwork. The pillow is linen (cream linen for the stitching ground, and black linen for the framing and back), and the stitching is in black silk. Blackwork is a technique using a double running stitch, backstitch and split stitch.  It encompasses several types of work, and there are spin-offs of blackwork called redwork and bluework.  The type of blackwork I have done here is floral outlining with geometric fill patterns within the outlines.  Other techniques you will see me use in blackwork are counted line motifs and shading.  As I work on new projects, I will offer more information!

Here is a closer look at some of the detail in the pillow!